How to use Library Checker
From install to your first result in about a minute. Watch the video, or follow the ten steps below with pictures.
79 seconds, with no sound: captions are on screen, and every step is written out below. Books, wait times and libraries in the pictures are examples.
Add it to Chrome and pin it
Install Library Checker, then pin it to your toolbar so it's always one click away.
- Open the Library Checker page in the Chrome Web Store and choose Add to Chrome. Confirm when Chrome asks.
- Click the puzzle-piece icon at the top right of Chrome to see your extensions.
- Find Library Checker and click the pin next to it. Its icon now stays on your toolbar.
Create your free account
An account keeps your daily checks, history and plan together, on any computer.
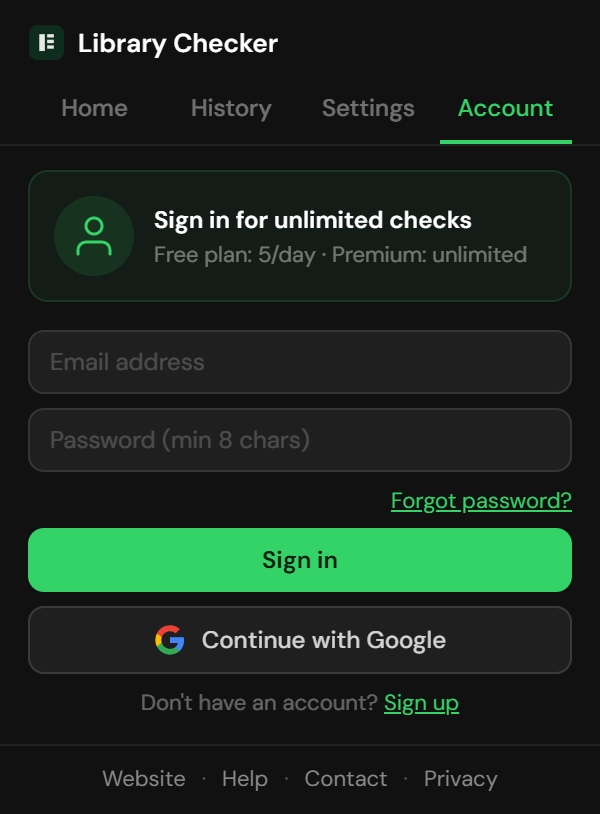
- Click the Library Checker icon and open the Account tab.
- Choose Continue with Google, or sign up with your email and a password.
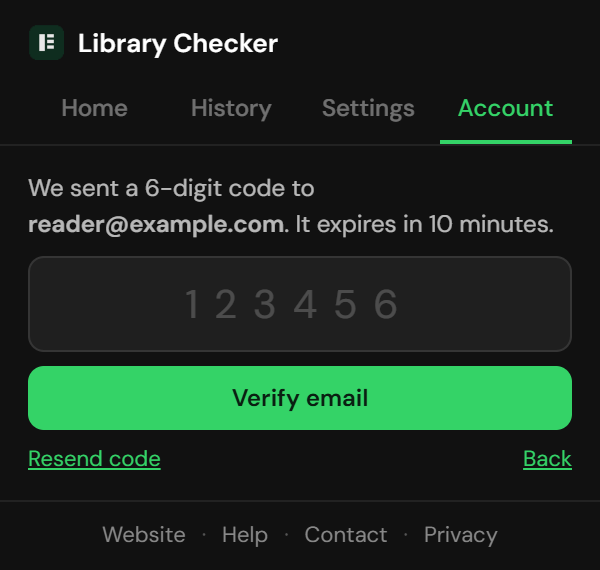
- If you use email, we send a 6-digit code to confirm the address. Type it in and you're signed in. The code expires after 10 minutes.
Forgot your password? Choose Forgot password? on the sign-in screen and we'll email a code to set a new one.
Choose your library
Tell Library Checker where you borrow. You can add more than one.
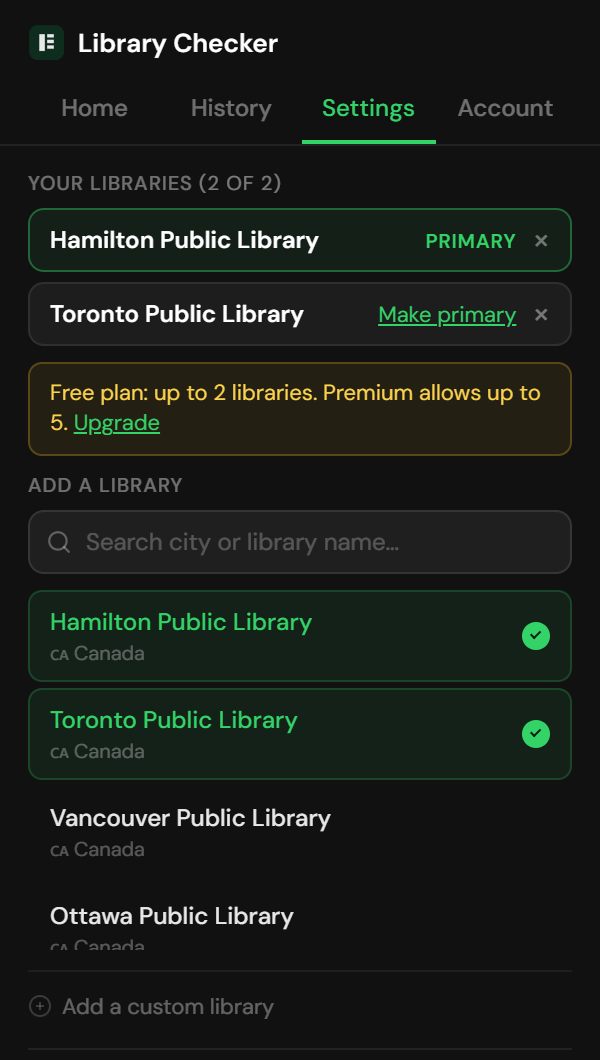
- Open the Settings tab and search for your library by city or name.
- Tap it to add it. The first library is your primary one; tap Make primary next to another to change that.
- Hold a card at a second library? Add that too.
Free up to 2 libraries. Premium up to 5. A check across several libraries counts as one check.
Your library isn't listed? Libraries that lend eBooks and audiobooks through Libby/OverDrive can be added as digital only, and a BiblioCommons library can be added with Add a custom library. See supported libraries.
Check a book
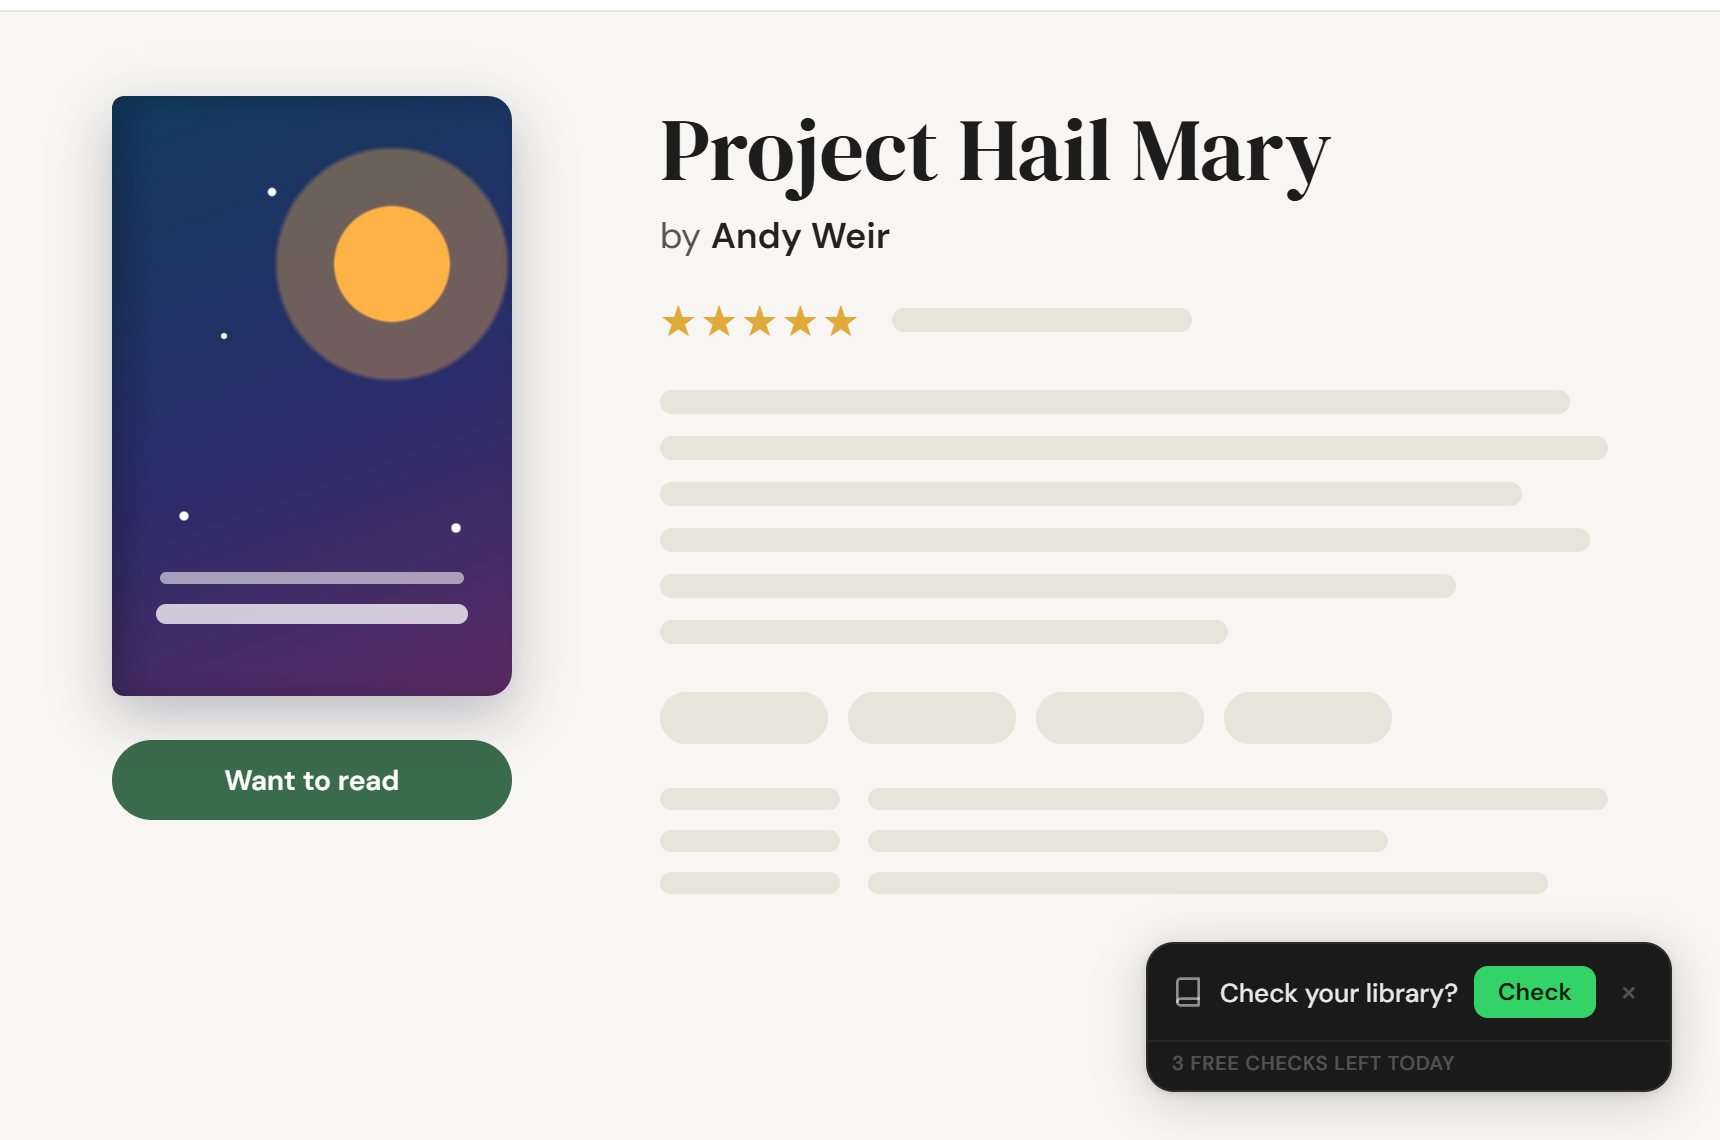
Open a book, click Check. The answer appears on the page in a few seconds.
- On Goodreads, open any book. A small prompt appears in the bottom corner.
- Click Check. The result opens right on the page.
- Prefer the toolbar? Click the Library Checker icon and press Check library. That's also how you check on StoryGraph and Amazon (step 8).
The free plan allows 5 checks a day, and the prompt shows how many you have left.
Read the result
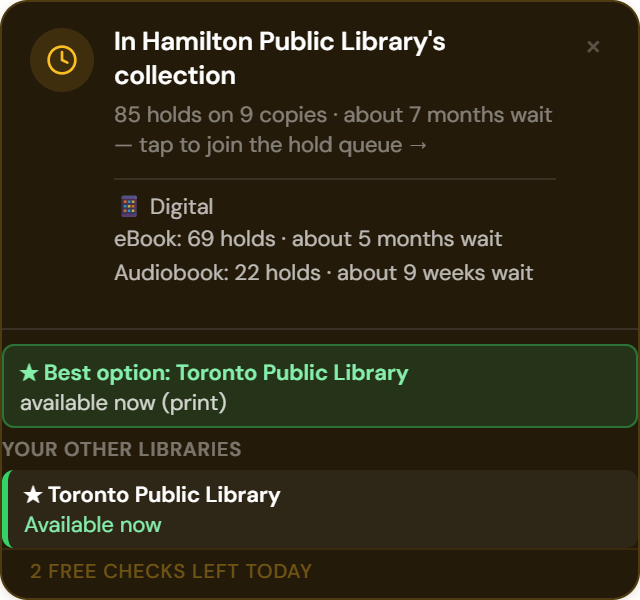
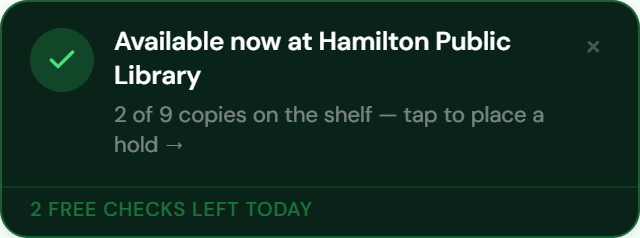
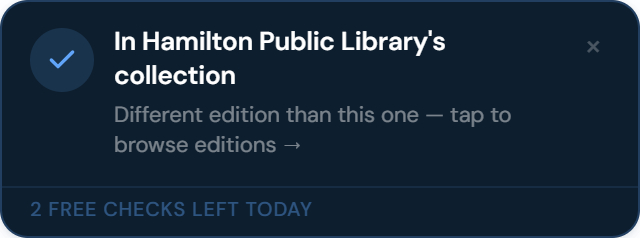
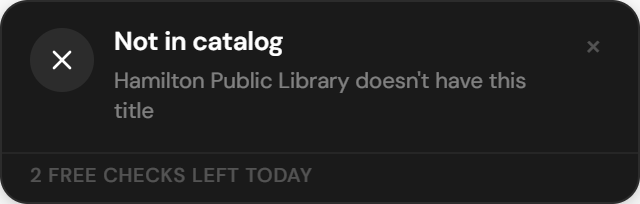
The colour tells you at a glance. Tap a card to open the book at your library.
If your library lends eBooks and audiobooks through Libby/OverDrive, you'll also see whether each one is available now or how long the wait is.
Check more than one library
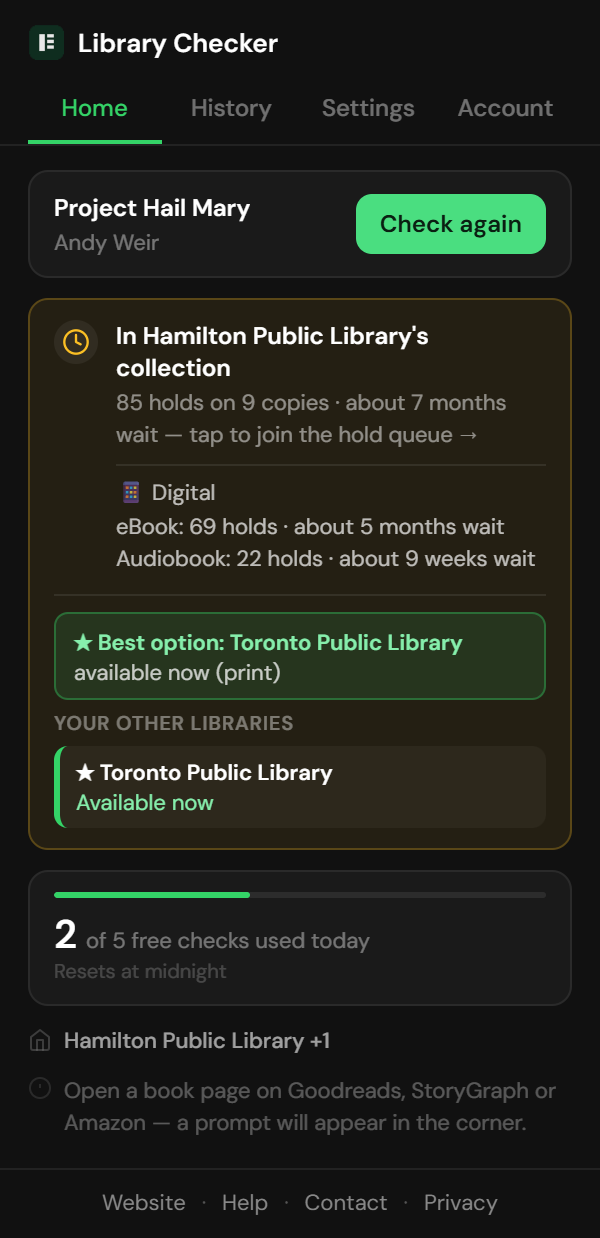
Hold a card at two libraries? One check covers both and tells you where to go.
- Your main library comes first, with holds, copies, wait and digital copies.
- The green ★ Best option banner shows where you can read it soonest. Available now beats a wait, and a shorter wait beats a longer one, whether that's print, an eBook or an audiobook. Tap it to open that library's page.
- Your other libraries get a row each. Tap a row to open it.
- However many libraries you check, it counts as one check.
Scan a whole shelf
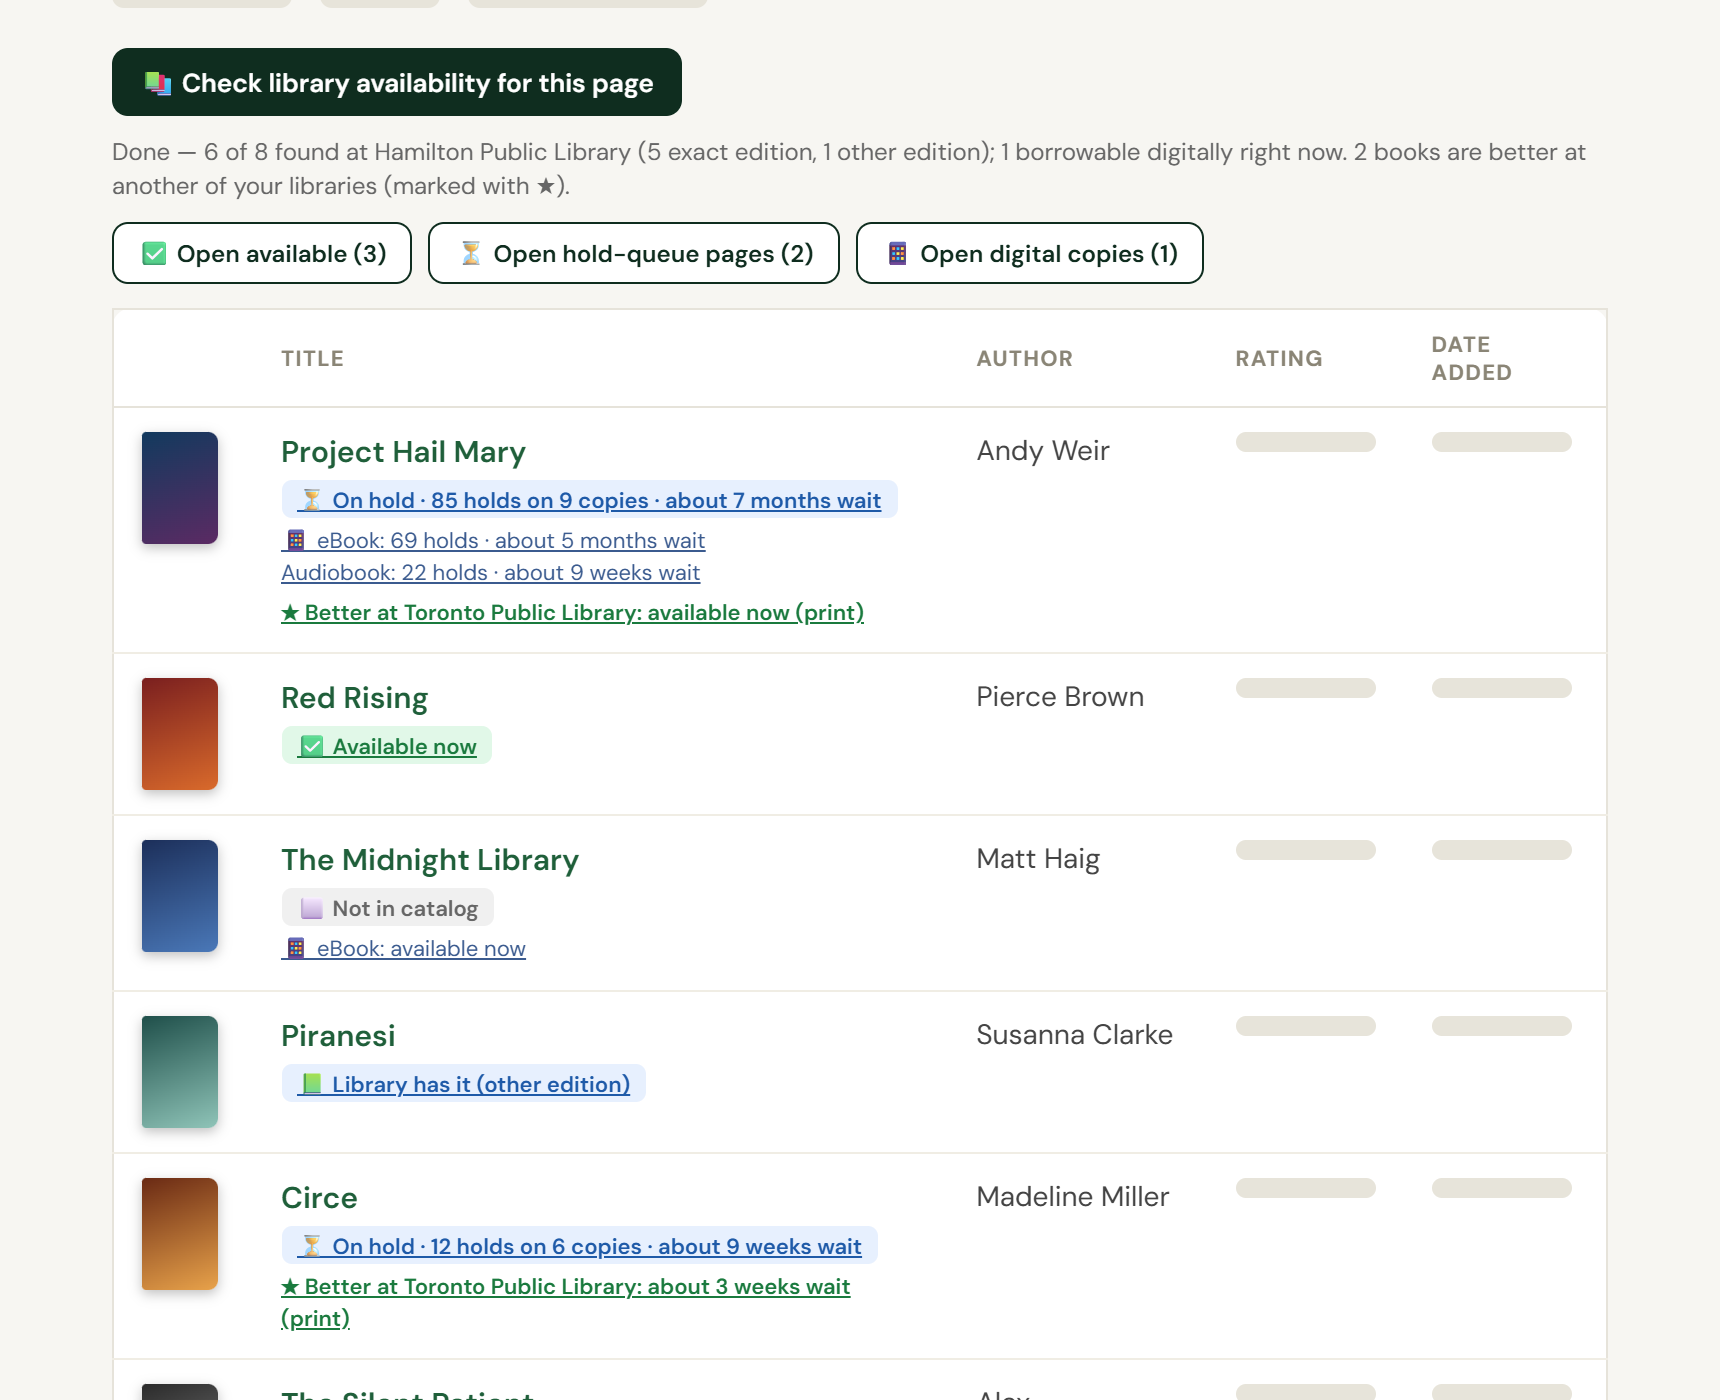
Check every book on a Goodreads shelf in one click, then pick what to read from what you can borrow.
- On Goodreads, open one of your shelves, for example Want to Read, in list view (not the cover grid).
- Click Check library availability for this page. Every book on the page gets a badge: available now, on hold with the wait, other edition or not in catalog, plus eBook and audiobook lines.
- Want more books checked? Raise Goodreads' per page setting on the shelf.
- Premium ★ Better at … appears under a book when another of your libraries beats your main one.
- Premium One-click buttons open your library's page for all the available, hold-queue or digital books at once, ten tabs at a time. You still place each hold on your library's own site.
Works on StoryGraph and Amazon too
The same check, on the other places you find books.
- Open a book on StoryGraph, or on Amazon (amazon.com, .ca, .co.uk or .com.au).
- Click the Library Checker icon and press Check library.
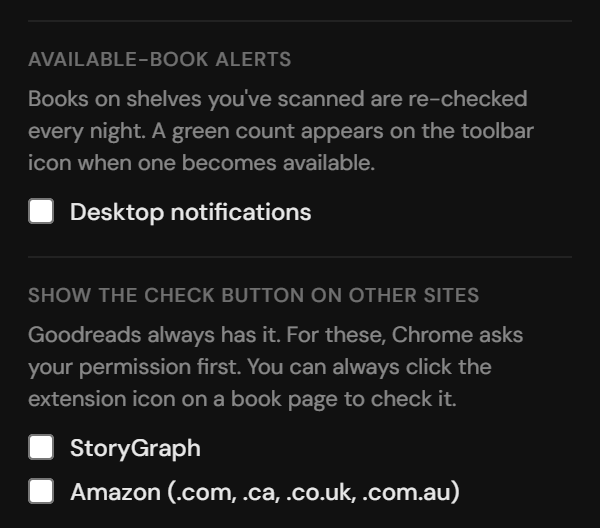
- Want the check button on those pages too? In Settings, under Show the check button on other sites, switch on StoryGraph or Amazon. Chrome asks for permission first; reload any open tabs afterwards.
On Amazon the button only appears on book pages, not on other products. Whole-shelf scans work on Goodreads shelves only.
Your history and your account
Every check is saved, searchable and yours to export.
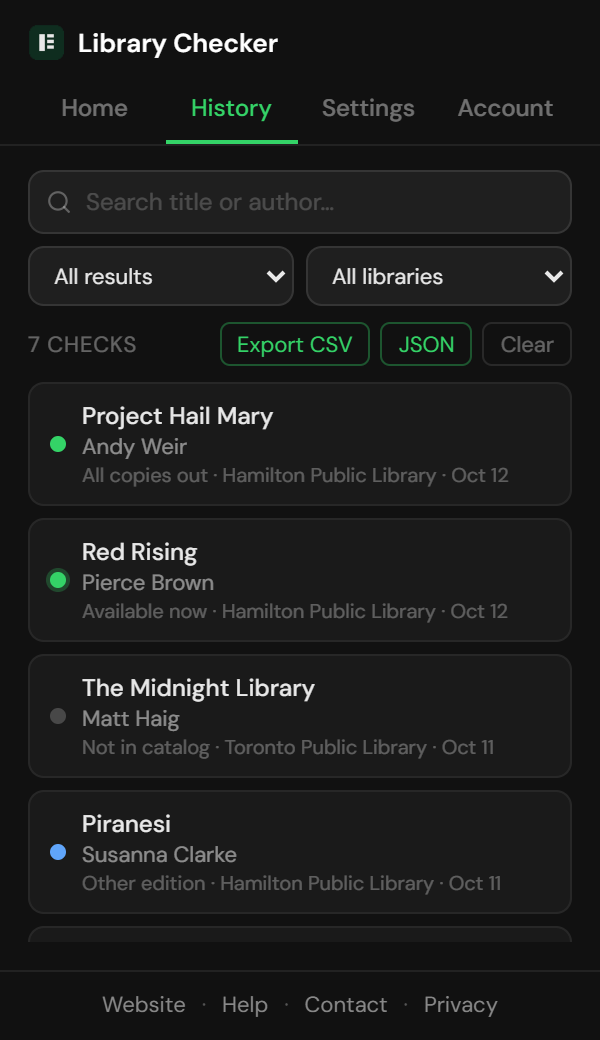
- The History tab keeps everything you've checked. Search by title or author, filter by result or library, and export what's shown as CSV or JSON.
- Clear deletes your whole history, so export first if you want a copy.
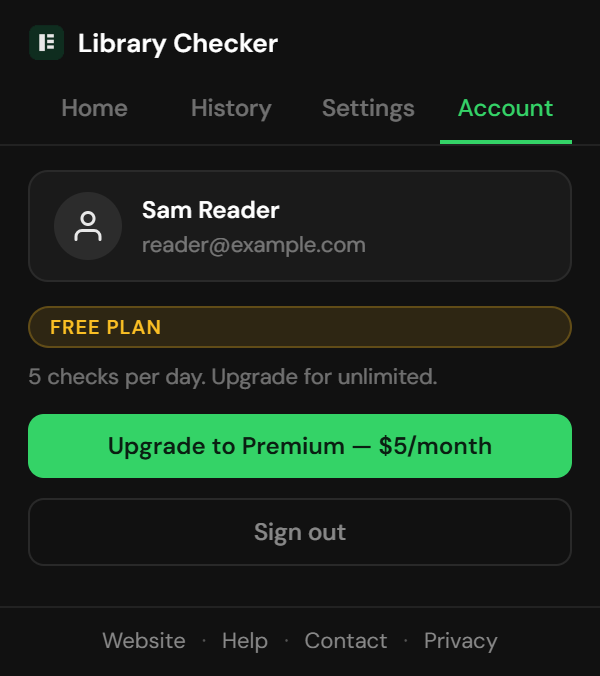
- The Account tab shows your plan. Upgrade to Premium for $5 a month, paid through Stripe; we never see your card.
- To cancel, open the Account tab and choose Manage billing. You keep Premium until the end of the period you've paid for, then your account returns to the free plan and your history stays.
Get told when it's your turn Premium
Library Checker keeps watching the books you scanned, so you don't have to.
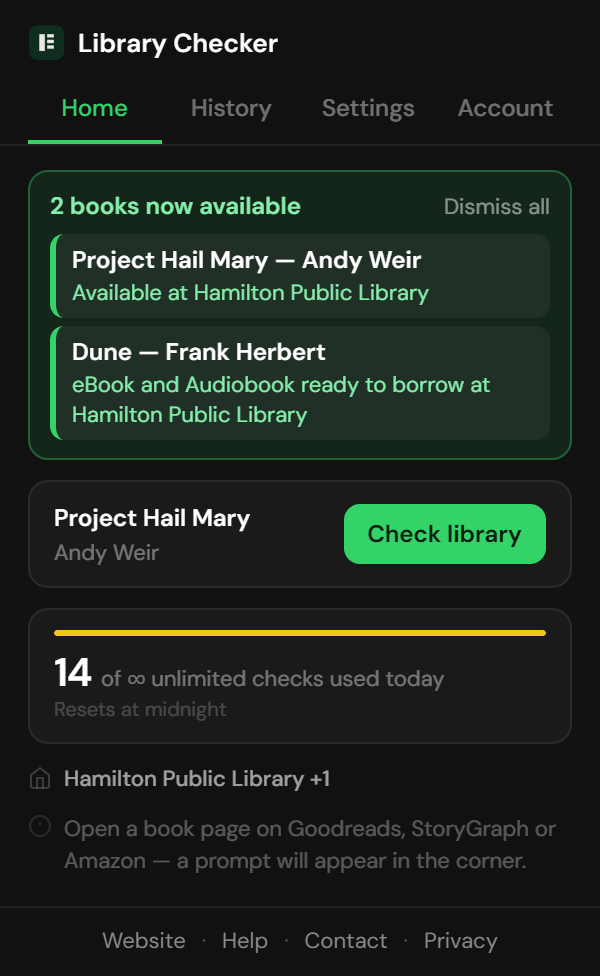
Each night it re-checks the books from your shelf scans at every library you chose. When one becomes available to borrow, in print or as an eBook or audiobook, you'll get:
- A green count on the toolbar icon. The extension looks for news about once an hour while Chrome is open.
- A card on the Home tab listing the books. Tap a book to open it at your library; it leaves the list once you've looked, or press Dismiss all.
- An email.
Want a pop-up too? In Settings, under Available-book alerts, switch on Desktop notifications. Chrome asks for permission the first time.
Take it with you
Print the guide, keep it on your phone, or send it to a friend who's always asking whether the library has it.
Something not working, or a step that doesn't match what you see? Tell us and we'll fix the guide.
Ready to try it?
Install it, pick your library, and check your first book in under a minute.
Add to Chrome — it's free